
Have you ever wondered where to begin when it comes to starting a produce or herb garden?
You’re not alone! With the rising cost of groceries, particularly produce, more and more people are interested in starting a produce or herb garden at home!
It can definitely be overwhelming when you’re first starting out, especially when you don’t know exactly where to start. The incredible thing about gardening is that anyone can do it. It just takes some work and knowledge to get your garden established! Even if you have been gardening for years, we have some tips that might help your plants bear even more fruit for you this summer than you have had in previous years!
Here at Sunshine Grow Shops, we’ve put together this 10 step guide to help you get started with your new produce or herb garden:
Step 1: Decide When to Start Planting
Once the weather has warmed up to temperatures that stay above 60 degrees, you have reached peak planting season. Soil temperatures need to consistently stay at 60 degrees to promote the best root development for your plants. The rule of thumb in Kentucky has traditionally been that Mother’s Day is when the official green flag for planting is waved! According to the Farmer’s Almanac, there is little to no risk for frost after April 20th in the state of Kentucky. We personally keep an eye on the 15 day weather forecast starting on April 20th. As long as there are no freezing temps in the forecast (<32F), it’s safe to say you’re in the clear to start your garden!
Step 2: Pick a Location
When selecting where to start your produce or herb garden, you have to consider what area of your yard receives the most sunlight. Keep in mind: vegetables, fruits, and herbs will require at least 6-8 hours of direct sunlight per day. The more sunlight the plants get, the better the flavor will be.
Keep in mind, not all areas of the ground are ideal for planting. Black walnut trees, which are native to Kentucky, release a toxin that will kill off most plants. This chemical can be found in the soil underneath the tree’s canopy of leaves and even a bit further out. It’s best to stay far away from walnut trees when planting in the ground. Container gardening is generally safer in these areas, but you need to place them at least 2 feet away from the canopy of the tree’s leaves.

Caution: Black Walnut Trees
Step 3: Choose a Planting Method
You have 3 options for developing your produce or herb garden; raised garden beds, garden beds (directly in the ground), and container gardening.
If using containers for your garden, you must match the pot size you are using to the mature size of the plant to prevent overcrowding of the root system. Bigger containers are better to hold in moisture/nutrients and to allow appropriate root development. For the best results, use a pot that is a minimum of 3-5 gallons deep.
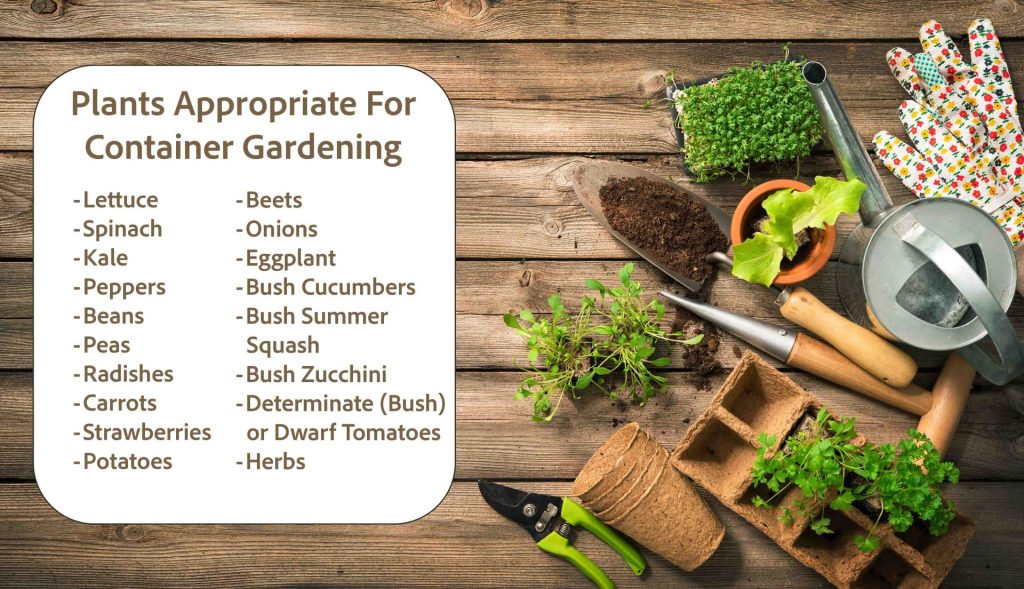
Determining if you will be using garden beds, raised garden beds, or container gardening depends on what type of plants you are planning on growing. Every type of vegetable, fruit, or herb can flourish in a garden bed, whether in the ground or raised. If you are planning on container gardening, see the list of plants that are appropriate to grow in containers below. Container gardening has limited space, so not all variations of vegetable/fruit plants will grow appropriately when planted in a container.
Step 4: Ensure Appropriate Drainage (for Any Excess Water)
If you are using containers for gardening, make sure there are holes in the bottom of your container to allow excess water to drain out and prevent roots from rotting. Most pots come with holes already drilled into the bottom, but if yours does not you can easily drill 3-4 holes into the bottom with an electric drill. This needs to be done before any soil or plants are added to the container.
Garden beds and raised garden beds generally drain out excess water with no problems, as long as you are using the right type of soil.
Step 5: Use the Correct Soil
When gardening, you should be using at least 2 feet of soil in order to give the plant’s roots enough room to grow. If you are using a raised bed that is less than 2 feet tall, you will fill your entire garden with soil. If taller than 2 feet, you can add some items to the bottom of the bed to avoid spending a lot of money on soil. You can use large rocks, cardboard, or paper along the bottom. A middle layer can consist of branches, sticks, logs, dry leaves, straw, kitchen scraps, and smaller rocks. The top layer should consist of at least 2 feet of soil.
What type of soil should you use in a garden/raised garden bed?
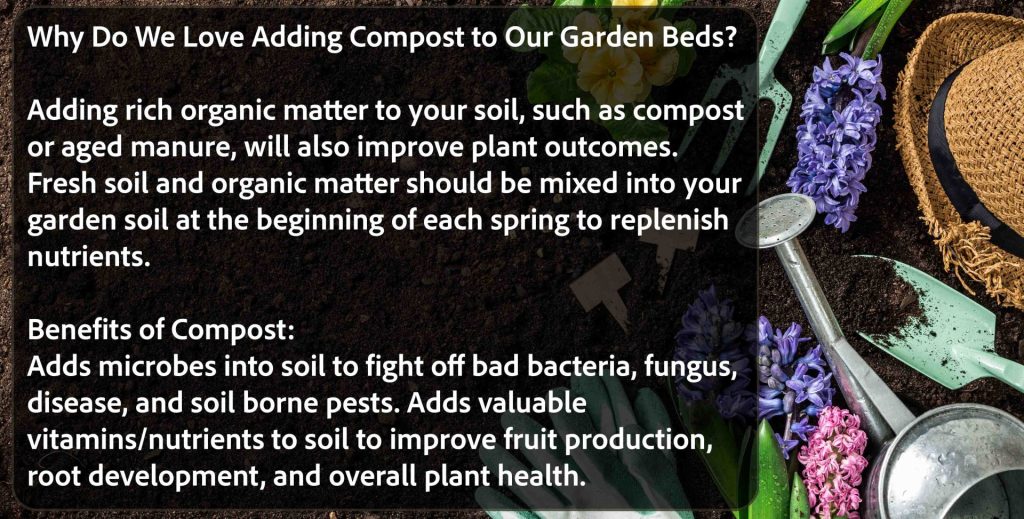
“Loamy” soil is the ideal texture of soil to use for produce or herb gardening in garden beds. Basically, your soil needs a loose/crumbly texture which will result in good drainage, nutrient retention, and root development.You can buy premade soil, such as “raised garden bed” soil. An alternative that you can consider is making your own soil out of mixing 20% peat moss, 30% compost, 10% vermiculite, and 40% topsoil. The goal is to have a balance of clay, silt, and sand textures to allow for appropriate drainage.
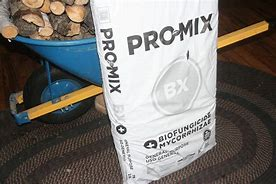
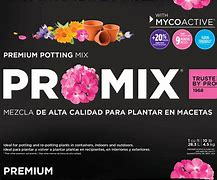
For container gardening, avoid using garden soil. Garden soil will cause too much water retention when used inside of a container. Instead, it is best to use a high-quality potting mix (such as ProMix). Potting soil is lighter, drains well, and provides aeration all helping to prevent rotting of your plant’s roots.
Step 6: Don’t Forget the Fertilizer
No matter what soil or gardening method you are using, it is vital that you add fertilizer. Fertilizer is basically plant food. If you don’t feed your plants, you can’t expect them to feed you. You should be using 2 different types of fertilizer, time-released and water soluble.
Time-release fertilizer will slowly release vitamins and nutrients to your plants for 90 days. Add a time-release fertilizer (such as Osmocote) into the soil before planting and mix it through. This allows the fertilizer to feed the plants all throughout their roots. Time release fertilizer needs to be reapplied every 90 days for the best results. When reapplying, sprinkle the fertilizer directly on top of the soil. Follow the instructions on the packaging regarding how much to use based on the size of the area you are planting in.
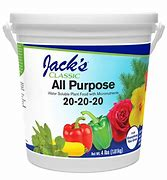
Using a water-soluble fertilizer in addition to time-release fertilizer will produce amazing results in the amount of production/size of your plants. You should use a water-soluble fertilizer on your plants once every 1-2 weeks. We prefer Jack’s fertilizer at Sunshine Grow Shop. You simply fill a 1 gallon watering can with water, add 1 scoop of Jack’s fertilizer powder, mix, and water over your plants.

Step 7: Add Mulch
After planting your delectable plants, don’t forget to mulch around them. 2-3 inches of organic mulch will help to conserve soil moisture, suppress weeds, and regulate soil temperature.
Step 8: Water Regularly – But Wisely!
Check soil moisture DAILY by sticking your finger a couple of inches into the soil. If the soil feels dry, your plants need to be watered.
Water thoroughly at the root zone. Water at the base of the plant, not the leaves. Avoiding watering the leaves will help to prevent the development of fungus on your plants.
Aim for at least 1-2 inches of water in your garden every time you water to make sure it is penetrating the roots and keeping plants from drying out too quickly.
Step 9: Weed Your Garden Regularly
Make sure that you are checking for weeds a few times a week while watering your garden. It is best to pluck weeds as soon as you notice them developing. Weeds will compete with your plants for nutrients/vitamins found in the soil. The faster they are removed, the less damage they will cause. They’re also a lot easier to remove when they are small and have tiny roots. The longer weeds grow in your garden bed, the deeper the roots will grow, making them harder to remove and potentially harming the roots of your established plants!
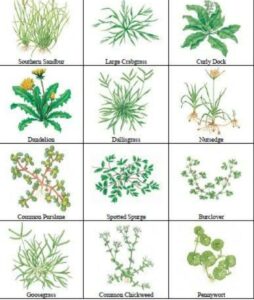
Common Garden Weeds
Step 10: Appreciate Your Hard Work
Generally 60-90 days after you have planted your fruit, vegetable, or herb plants it will be time to start harvesting! If you have never had the pleasure of enjoying your own home grown produce before, I must warn you, you may never want store bought produce again! I encourage you to start looking into ideas for recipes for the abundance of fruits you are about to enjoy! Soon you’ll have so many fruits you’ll be giving them away, pickling them, canning them, making sauces out of them, and even eating them straight off the vine! So, what are you waiting for? Get on out there and get that garden started! Stay tuned to our blog and social media sites next Friday we’re going to be discussing tomatoes, and you don’t want to miss it!

Ready to Get Started with your Produce or Herb Garden?
Whether you’re a first-time gardener or a seasoned green thumb, starting your own produce or herb garden is an incredibly rewarding journey. By following these ten essential steps – from choosing the right time and location to planting, watering, and caring for your crops – you’ll set yourself up for a bountiful harvest and the unmatched satisfaction of homegrown fruits, vegetables, and herbs. Remember, gardening is a process that takes patience and care, but the payoff is well worth the effort. With a little planning, the right materials, and regular attention, you’ll soon be enjoying delicious, fresh produce straight from your own backyard. Don’t forget to check back next week for our deep dive into growing tomatoes – happy gardening!
Need Some Help Getting Started?
Our expert team would love to spend some time chatting with you and helping you get started!
Check out our list of locations conveniently located in the Lexington and Georgetown area.
Recent Comments